Each region of the campaign fights on its own kind of battlefield, with hazards that hurt both sides. Using them well turns a hard mission into an easy one.
Earth orbit
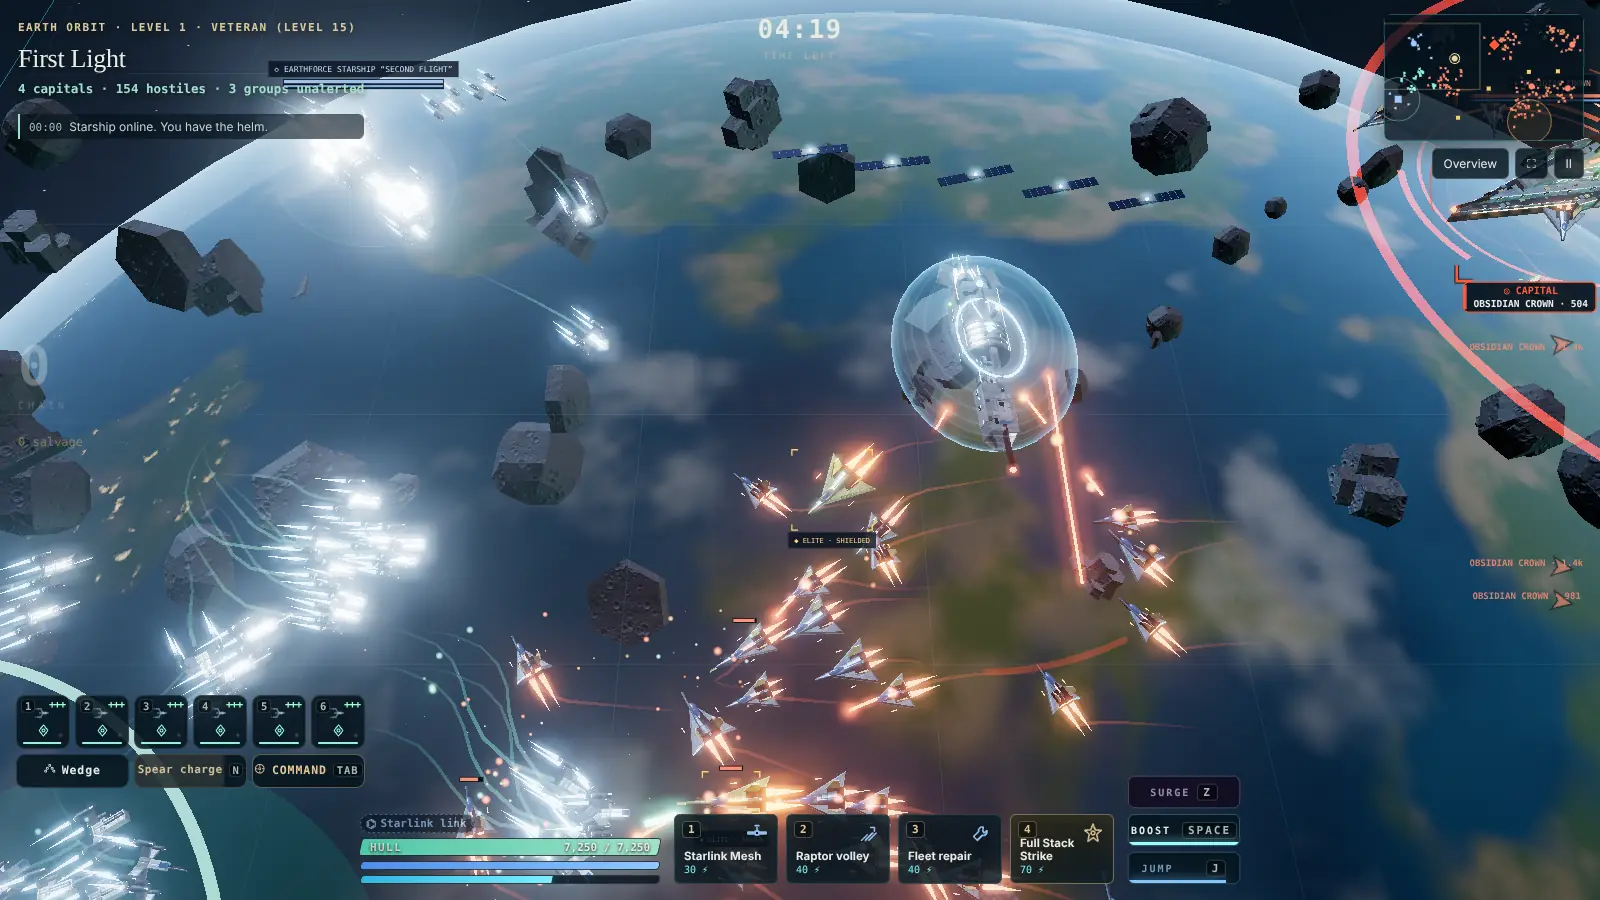
Starlink satellites, orbital debris, the Starbase yards and the blue planet below.
Tip: Debris and satellites block shots: fight in the open and use the planet’s curve to break line of fire.
Shattered moons
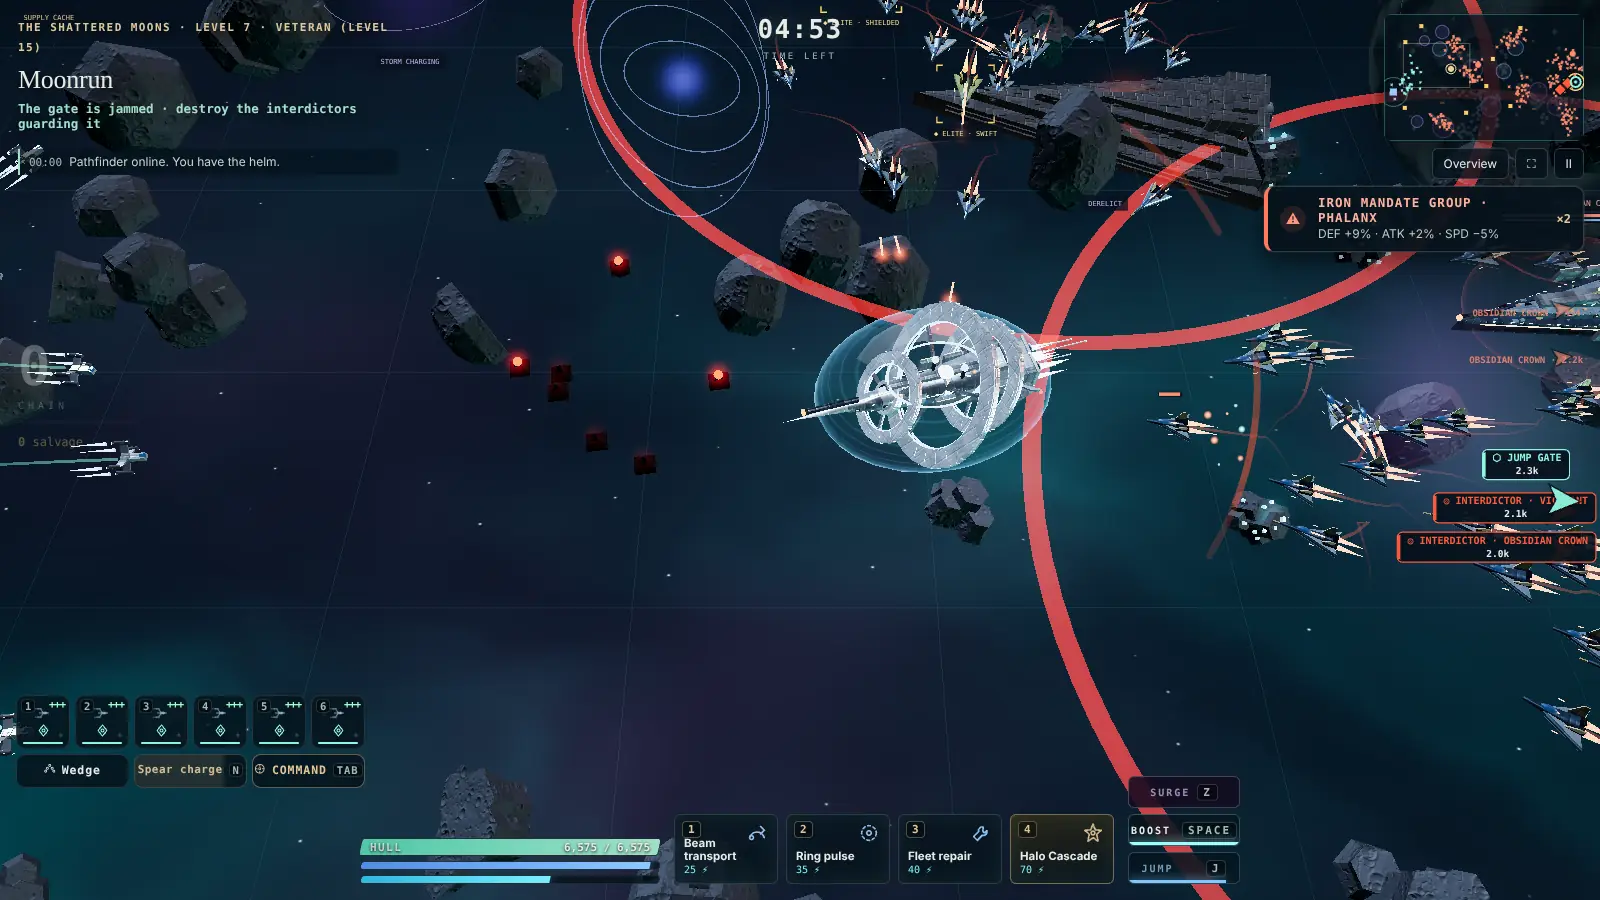
Drifting asteroid belts, nebula cover, minefields and a gravity well.
Tip: Nebula cover hides you from long-range fire, and the gravity well drags slow ships; stay out of minefields.
Ion tempest
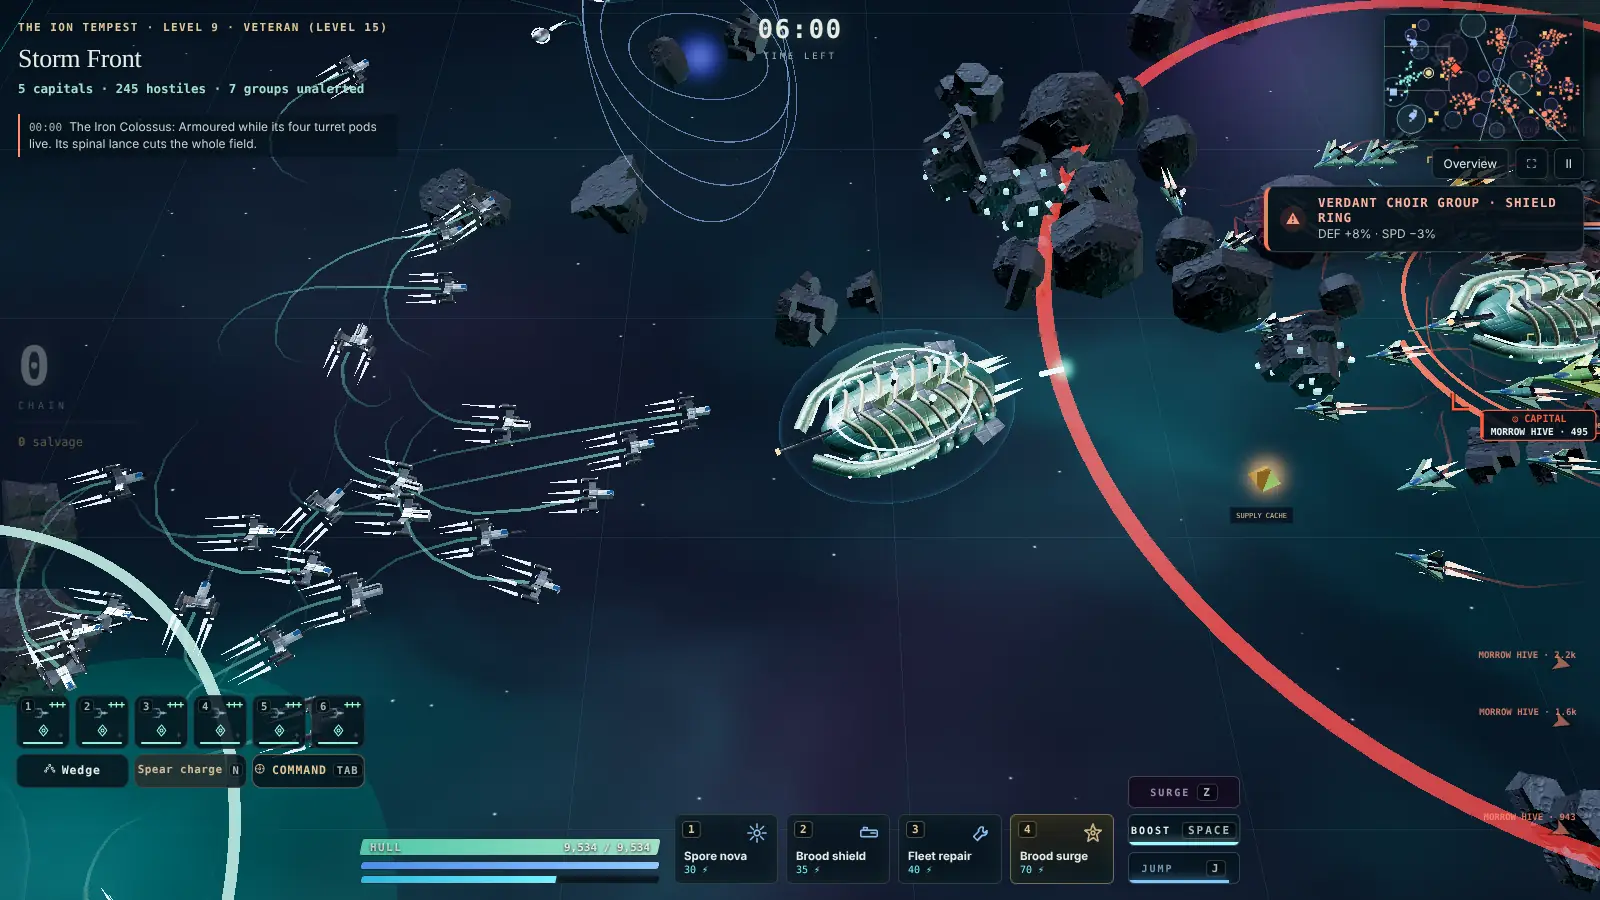
Wandering ion storms, time-slip fields and a pulsar sweeping the sector.
Tip: Ion storms disable systems and time-slip fields slow everything inside: lure enemies into them.
Titan graveyard
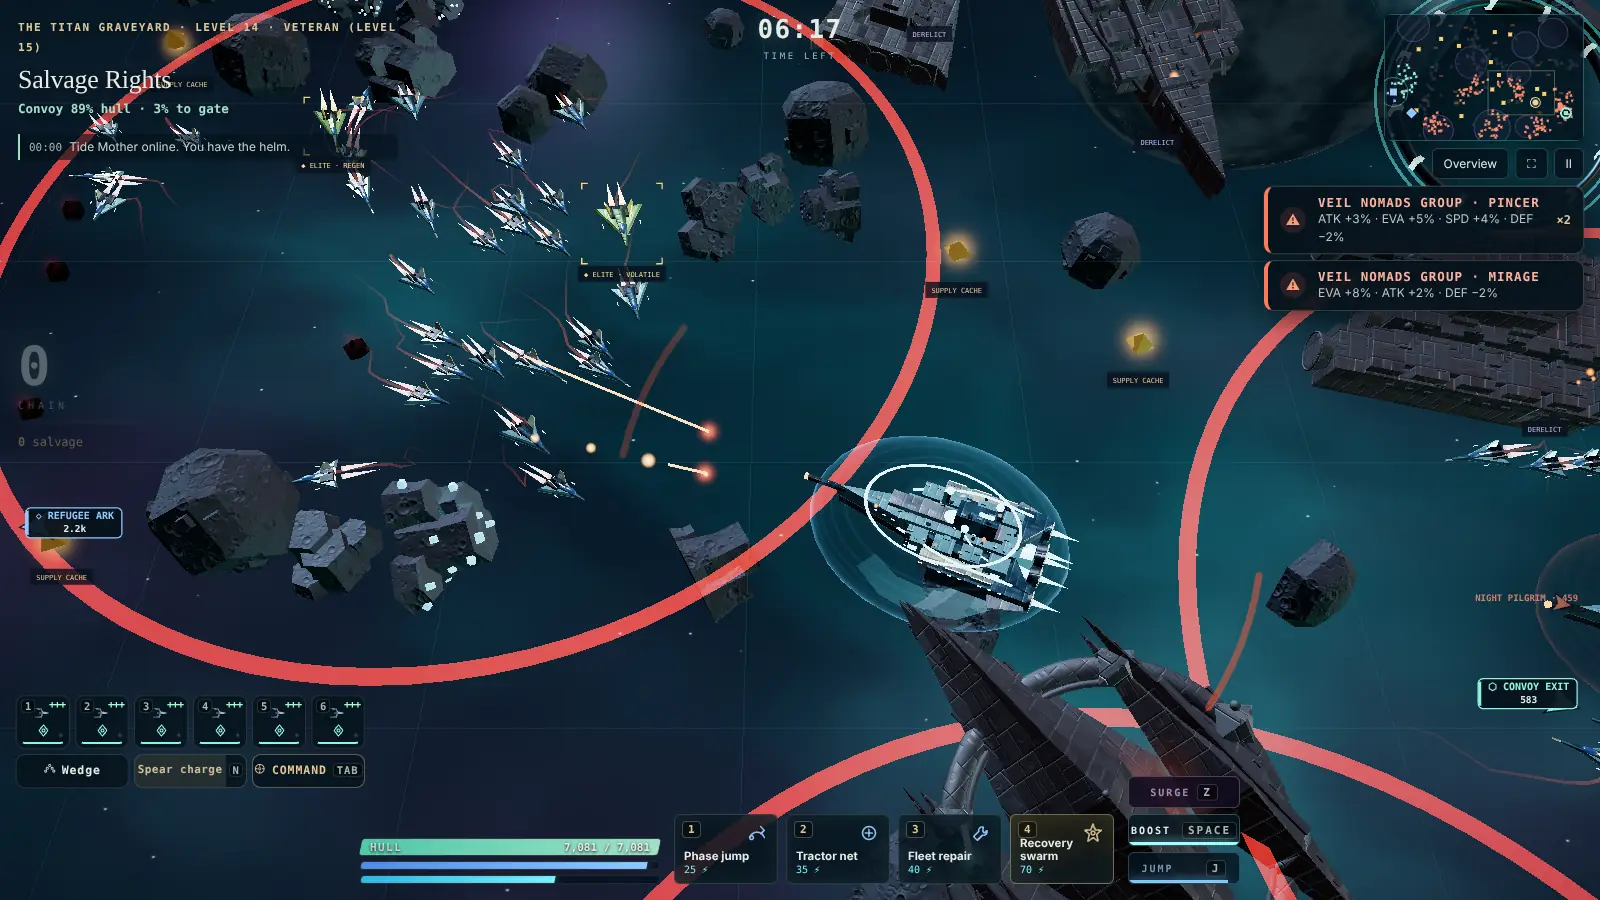
Derelict hulks that burn when shot, dead-sensor shadows and supply caches.
Tip: Derelict hulks explode when shot: shoot them when enemies pass nearby, and pick up the supply caches.
The fracture
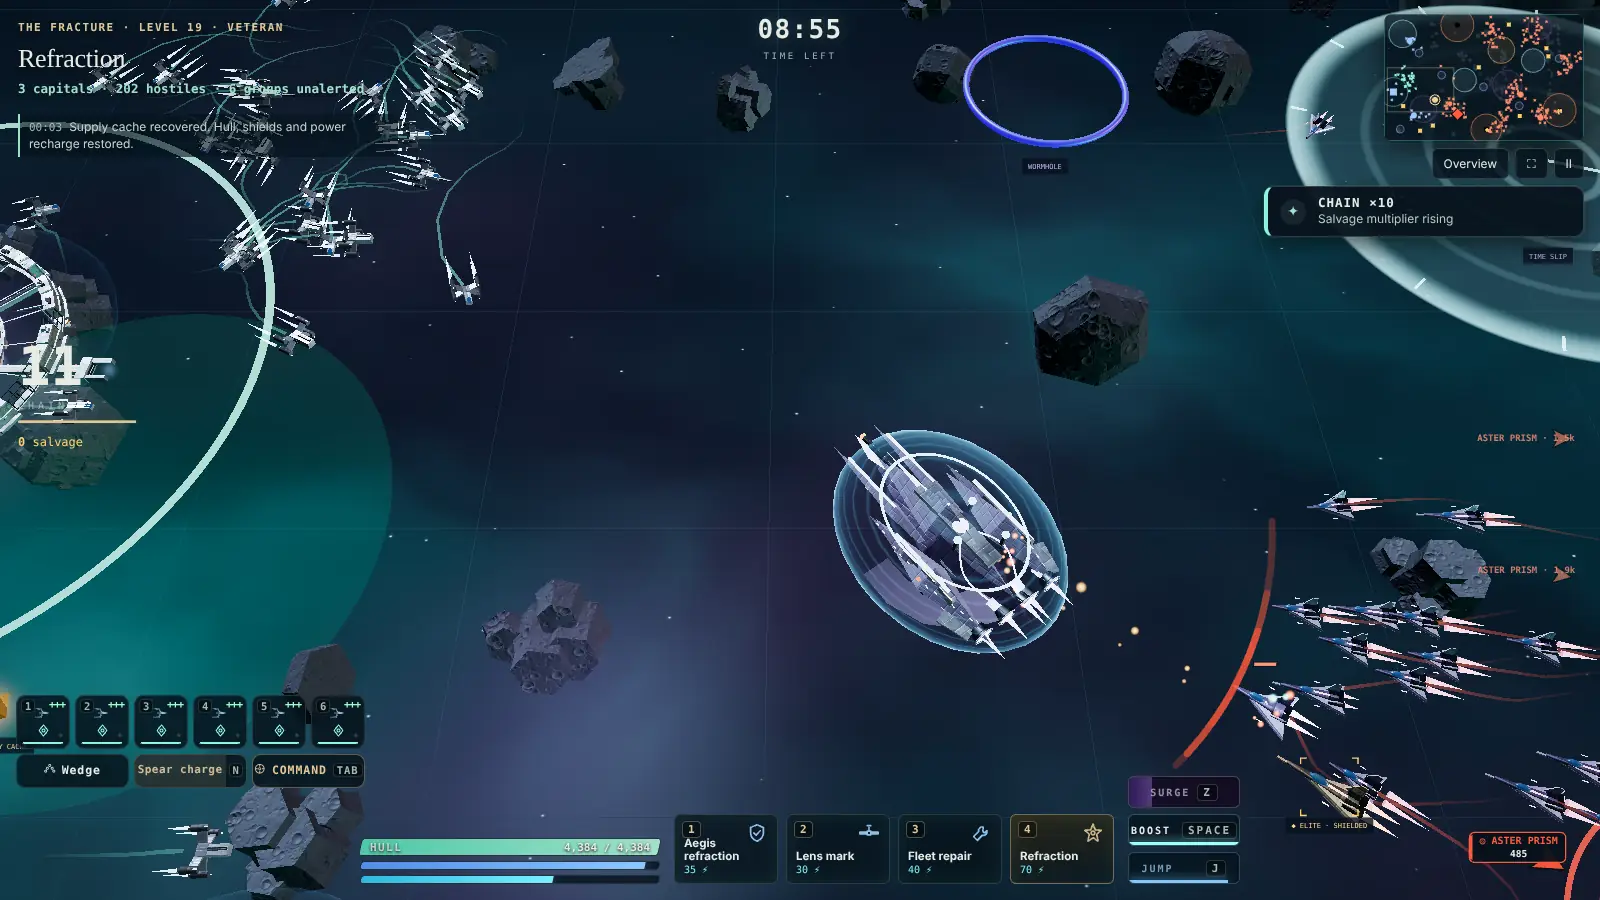
Black holes that bend gunfire, wormholes, radiation and a volatile gate.
Tip: Black holes bend gunfire and wormholes move you across the field; the gate is volatile, so do not fight next to it.
The deep veil
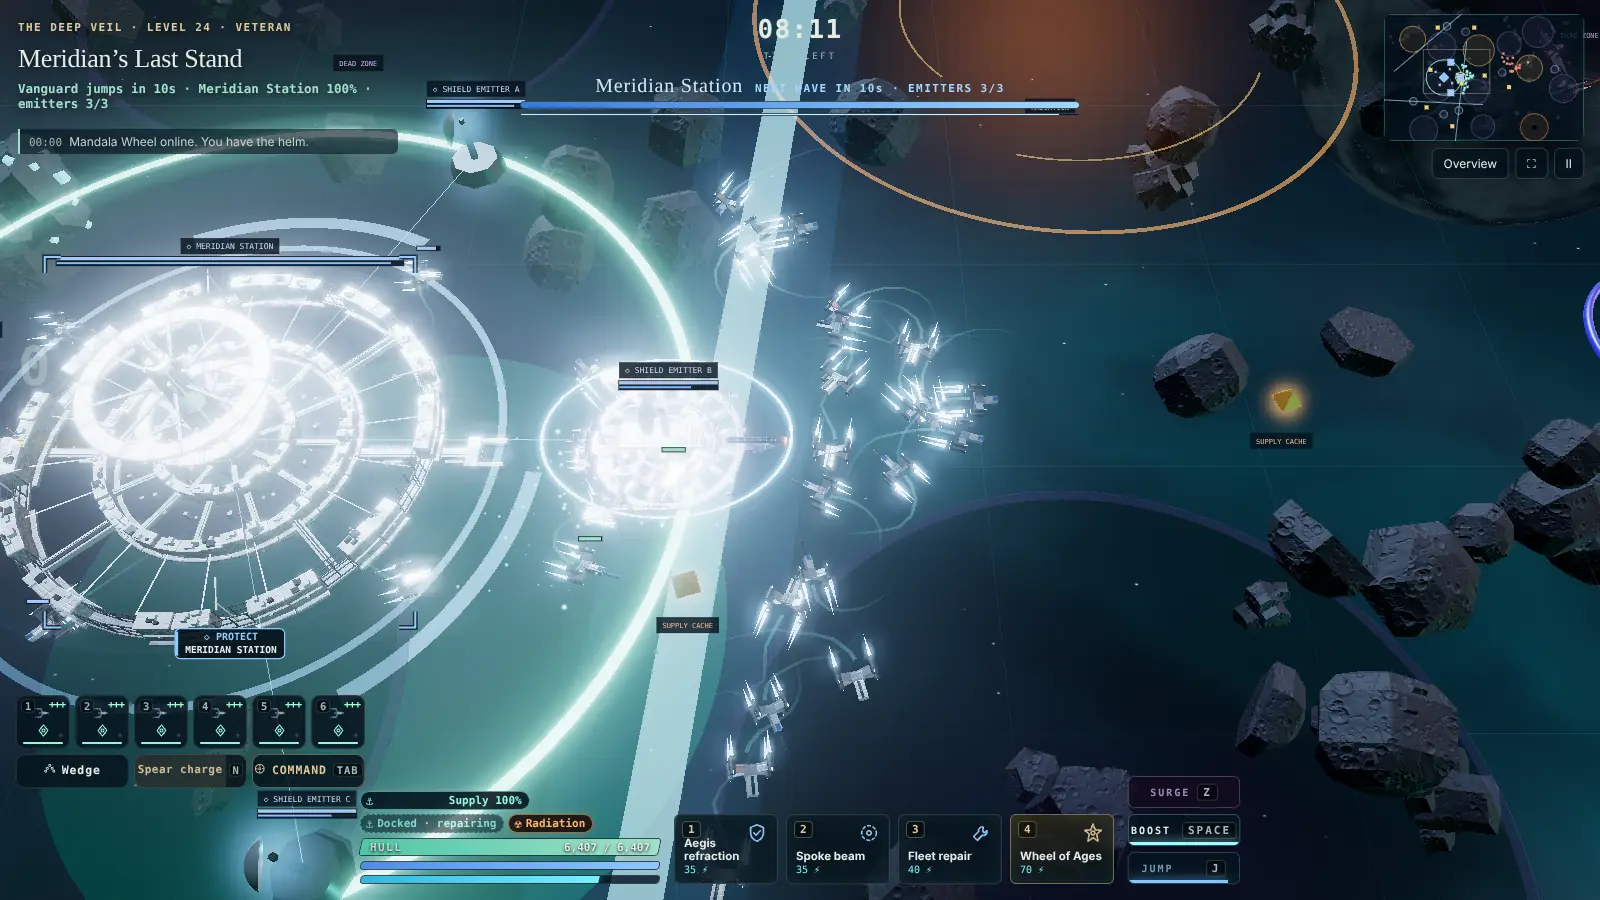
Black holes, a pulsar, sensor shadows and things that are not really there.
Tip: Sensor shadows hide enemies, and some of what you see is not real. Trust the minimap.
Hazards you can use
- Minefields do not care whose ship touches them. Boost past a mine with a chasing wing behind you.
- Black holes bend gunfire round them. Keep one between you and an enemy artillery ship, and never park next to one: its pull drags slow capitals in.
- Wormholes move you across the field in an instant: the fastest way out of an ambush, or to a convoy in trouble.
- Time-slip fields slow everything inside. Pull enemy squads into one, then fire your ultimate.
- Ion storms knock out systems for a moment. Fight at their edge, not inside.
- Derelict hulks burn and explode when shot. Wait for an enemy wing to pass them.
- Supply caches restore hull, shields and energy. Remember where they are before a boss phase starts.
- Solar flares are announced before they hit: boost out of the marked area.
Battlefield sizes
Skirmishes and some missions can be fought on huge fields: Vast, Colossal and Galactic fields are five, ten and twenty times the area of Massive. On those, a cruise drive spools up in empty space, and the jump drive (J, or the jump map on M) is the quickest way to reach the fight. Your outpost from Meridian Station stands behind your start on every field: fly inside its ring to repair and resupply your squads.
Picking a battlefield in skirmish
The Skirmish tab lets you choose the battlefield, its size and its events. Earth orbit is the calmest place to learn a new ship; the Fracture and the Deep Veil are the hardest, because black holes and sensor shadows punish ships that fight without looking at the minimap. See game modes for every mission type.